 Starting plants from seeds is usually the most cost effective route when starting your own garden, and can be a great learning experience for both children and adults.
Most seeds can be sown directly into your garden, and seed packets will generally give instructions as to the preferences of the particular plant you are starting. There are benefits to sprouting your seeds in a starter pot, the most important being identification and control of the environment. Seed starter kits can be bought at most garden centers, but creating your own starter kit with materials you may already have can be easy and fun. These materials can vary, but should consist of : One pot or bucket large enough to fit multiple starter pots, starter pots and some sort of water-retaining material (visqueen or trash bags, for example).
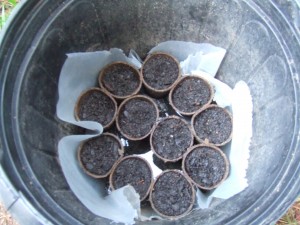
 Line the bottom of the larger pot with your water-retentive material. This is to plug the holes on the bottom of the pot and is unnecessary if you are using a bucket without holes.
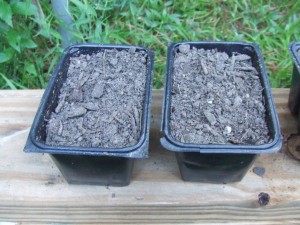
I used some peat pots that I had left over from last year, but you can reuse old starter pots from previously bought plants or unwanted plastic cups (be sure to drill holes in the bottom of the cups so there is no standing water in the starter pots). Fill your starter pots with soil (preferably a seed starter mix, half soil and half peat moss), and place inside the larger pot. Water the soil until it is completely saturated, leaving a little residual water in the bottom of your larger pot.
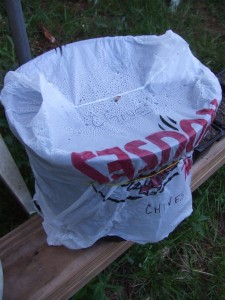
Sow one to two seeds per starter pot. Cover your bucket with a plastic bag (this is to retain condensation) and wrap a rubber band around the  top. Check on your seeds every few days to release excess moisture. Once your seeds begin to sprout, uncover. Sow the plants into your garden after they have grown about two inches, or have shown their first two leaves, whichever comes first.


